
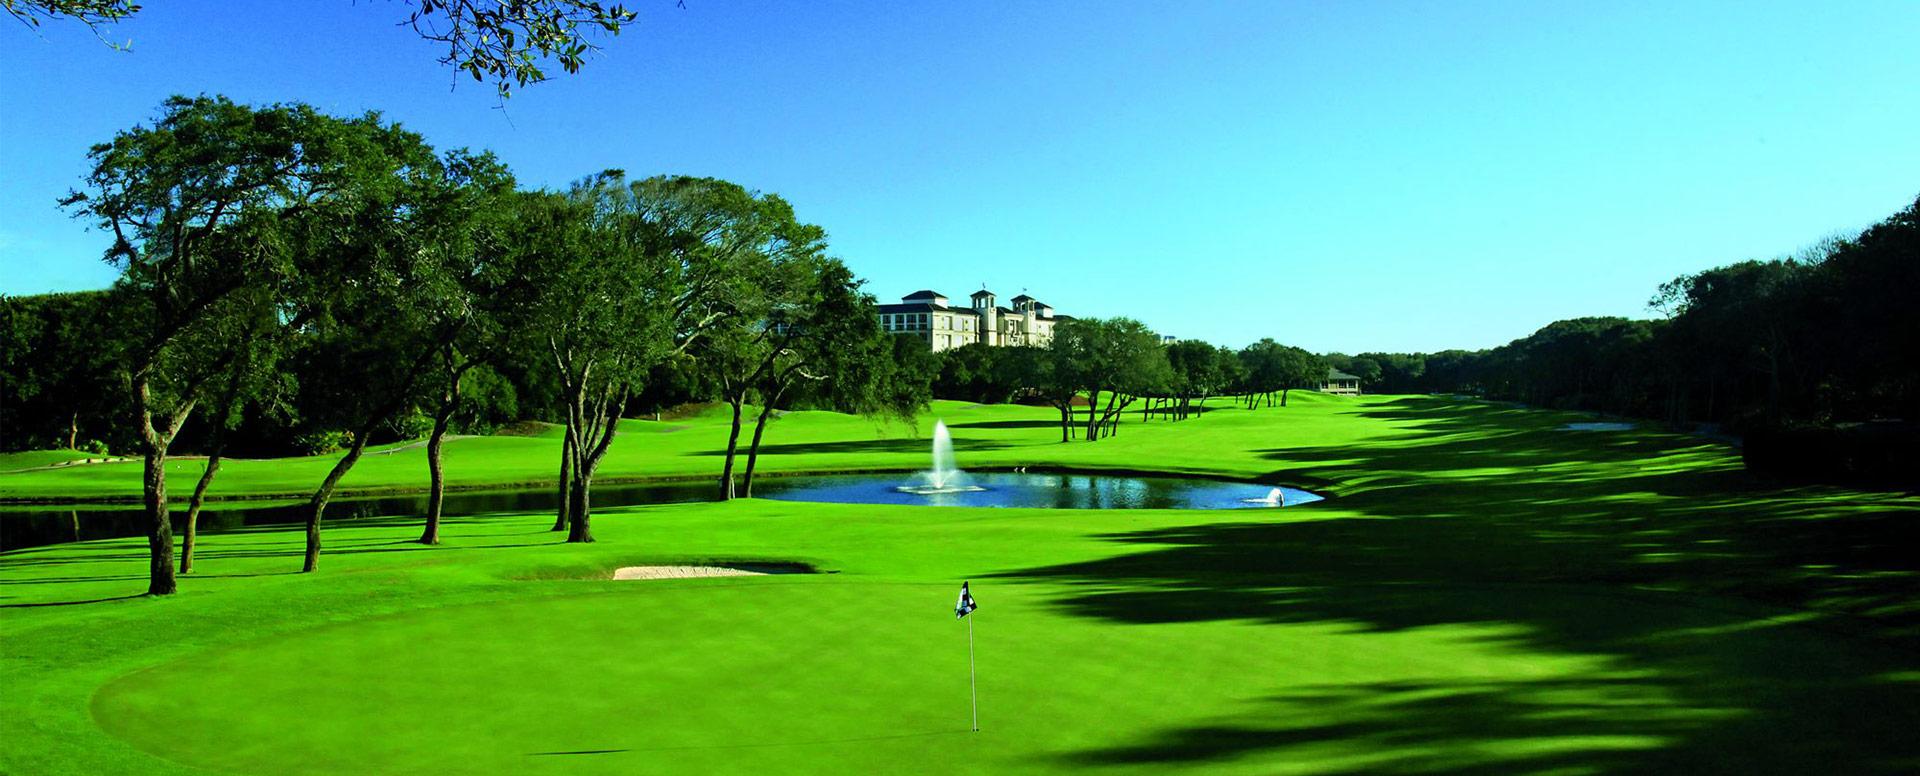
Amelia Island Golf Course Tour
Golf courses near Amelia Island are surrounded by stunning landscapes and ours is no exception. Our 18-holes feature natural beauty and views that some only dream of, and our experienced professionals are here to help you excel at the game you love.
Course Tour
Hole # 1
The opening hole at GCAI is a straightaway Par 4 that is protected by a narrow tree line on the right and left side. The hole slightly favors a left-to-right ball flight. A bunker on the right side of the green protects a severely sloping green from back to front.
Hole # 2
The number 1 handicap hole offers a difficult tee shot as the fairway angles at 90 degrees a few hundred yards out. The approach shot into the green on this long par 5 is guarded by bunkers on the left and right as well as a lake that cuts out in front of the green.
Hole # 3
This short Par 4 is guarded by trees that provide the player with an intimidating tee-shot. If you can carry over the trees, you set yourself up for a very easy approach into a green sloping from back to front.
Hole # 4
A standard 2 shot par 4, provides the player with an option to use less of a club off the tee. Water guards the green on the left side as you approach along with bunkering on the right and left side.
Hole # 5
The beautiful short par 3 holes is well protected by right and left bunkering along with a bulkhead retaining wall which runs up to the green, holding a lake off its left side.
Hole # 6
Another sharp dogleg provides the player an option to go for it all or play it safe on the par 4. Water guards the left side for the entirety of the hole providing an approach shot to a green protected· by bunkering along its left side.
Hole # 7
This Par 4 has one of the most challenging tee shots on the island due to the large oak trees
that guard each side of the fairway, as well as water all the way down the left and out of bounds to the right. You'll want to favor the right side of the fairway, as trees guard against any shot into the green
from the left side. The elevated green is guarded by three bunkers in front, as well as a runoff area if
your approach shot is too long.
Hole # 8
The final Par 5 on the front nine is a 500-yard dog leg to the right. The sensible approach here is a straightaway tee shot landing around the 225 marker in the center of the fairway. It is possible to cut the corner of the fairway for a chance to be on the green in two, but exercise caution as this strategy brings trees, as well as out of bounds into play.
Hole # 9
The closing hole of the front 9 is a long, downhill par 3. The prevailing wind here is straight off the Ocean which means it will require an extra club or two to hit the green which slopes from back to
front.
Hole # 10
This 400-yard par 4 is a preview of what's to come on the back 9. A wide fairway is guarded by a bunker on the left, as well as water that creeps in from the right. Avoid these two areas and you will have a comfortable approach into a green that is guarded by 2 bunkers on each side, that slopes from back to front.
Hole # 11
Any time you have a green in regulation on this 440-yard Par 4 give yourself a pat on the back. Keep it in the short grass with your tee shot and avoid the greenside bunker on the front-left and you will find yourself with an excellent opportunity at birdie.
Hole # 12
Be sure to avoid the fairway bunkers along the left, and out of bounds areas on the right sides of the fairway on this 515-yard Par 5. The green is gettable in 2 if your tee shot is long enough but be wary of the marsh that separates the two sections of the fairway. The green complex is guarded by one large bunker on the front right, and shaped to send any errant approach shots into the runoff areas surrounding it.
Hole # 13
The first Par 3 on the back side offers an easy way to get back on the Par streak. Measuring
only 150 yards from the tips generally only a short iron is required. Be mindful of the bunker on the left side of the green and the gradual slope off to the right side of the green.
Hole # 14
A short Par 4 that doesn't require a driver. Make sure your second shot has plenty of loft
though! The marsh in front of the green is about 50 yards deep and keeps every ball hit into it.
Hole # 15
The number 2 handicap Par 5 on the back requires either 2 great shots to get home or 3 good shots. 2 marshes come into play with the first being off the tee ball and the 2"' either as a go over
approach or layup. Either way the green slopes both to the front and the back. If the pin is ever front right make sure your putt is in the hole or the wedge will come back out of your bag again.
Hole # 16
The signature Par 3 at the Golf Club of Amelia Island. Protected by marsh in the front, back, left and right side of the green. Precise yardage off the tee is the key to hitting this green in 1.
Hole # 17
A short par 4 dogleg that can give you a wedge in your hand if you can work the ball. A well hit drive off the tee that looks perfectly straight can end up in 1 of the 2 bunkers on the right side. A ball hit to far left can certainly find the marsh. Keep this ball about 135 from the green and a par or better is in your future.
Hole # 18
The last and one of the longest Par 4's on the golf course. This hole rewards a long straight ball off the tee. On the second shot be mindful of your distance a ball that goes too deep is a sure bogey! Don't get caught up in the beauty of the back patio and surrounding plantings. Keep your head down on your second shot, swing smooth and you will hit another green in 2!
